
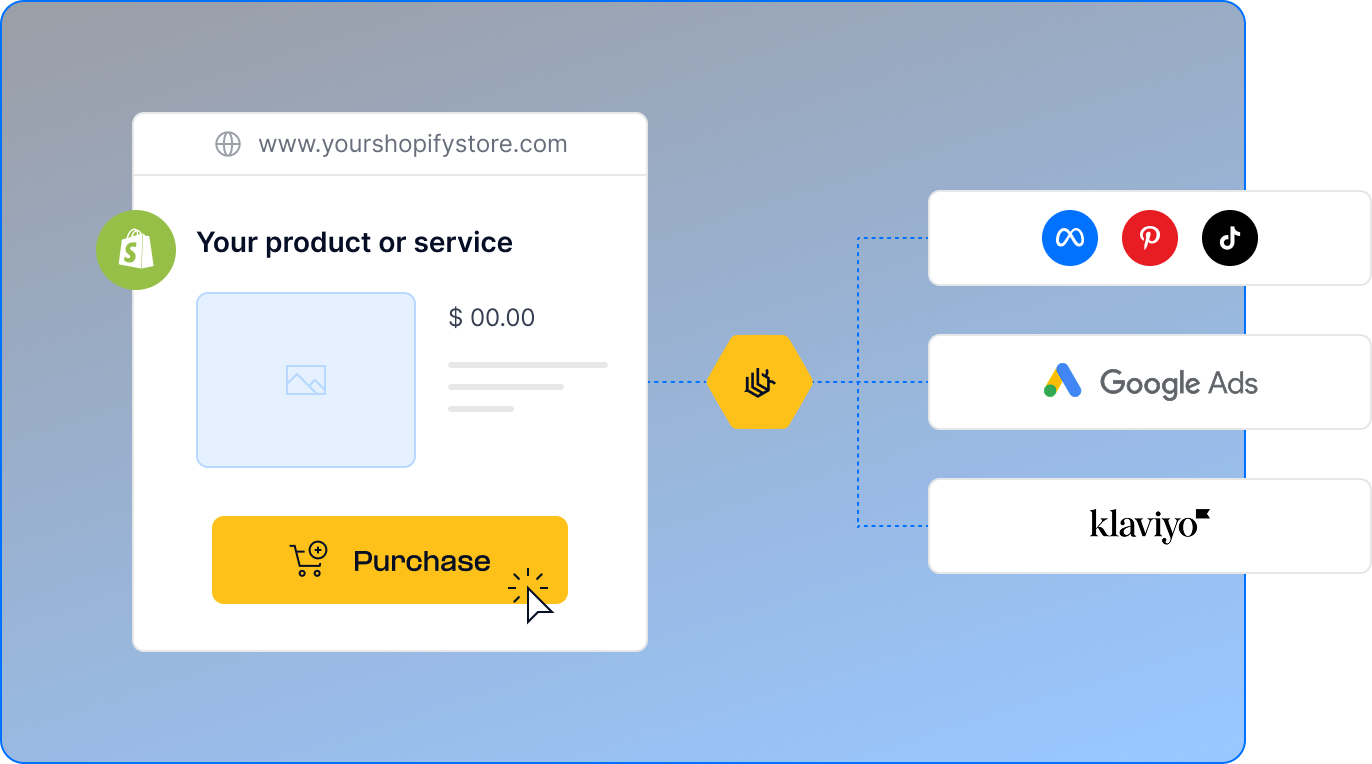
Short answer: To set up Google Enhanced Conversions on Shopify, you send hashed first party data such as email and phone alongside each conversion so Google can match more conversions accurately. TrackBee does this automatically with every server-side conversion event, with no Google Tag Manager required, which raises your Enhanced Conversion coverage in a 5-minute, no-code install.
Google Enhanced Conversions improve attribution accuracy by matching hashed customer data - email addresses, names - against Google's logged-in user database. For Shopify stores, they recover conversion data that standard pixel tracking misses: cross-device journeys, iOS conversions, cookie-blocked sessions.
This guide covers what to set up, in what order, and what to watch out for - specifically for Shopify.
Before You Start: What You Need
Before setting up Enhanced Conversions, confirm you have:
-
Admin access to your Google Ads account - required to accept customer data terms and modify conversion settings
-
Google Ads conversion tracking already set up - Enhanced Conversions layer onto existing conversion tracking; they don't replace it
-
A purchase conversion action configured - typically tracking the Shopify thank-you/order confirmation page
-
A Google Tag (gtag.js) or Google Tag Manager on your store - required for the client-side component
For Shopify stores using TrackBee, the server-side component replaces the need for custom GTM configurations. For a complete overview of how TrackBee's four-layer tracking approach handles Google Ads, see TrackBee's Google Ads Integration. The Google Ads account setup steps below are the same regardless of implementation method.
Step 1: Accept Customer Data Terms in Google Ads
Enhanced Conversions require explicit acceptance of Google's customer data processing terms. This is a prerequisite - without accepting these terms, Enhanced Conversions won't activate even if the technical setup is complete.
-
Log into your Google Ads account
-
Click the Goals icon in the left navigation (or go to Tools & Settings > Measurement > Conversions)
-
Click Settings at the top of the Conversions page
-
Scroll to the Enhanced conversions for web section
-
Check the box to turn on Enhanced Conversions for web
-
Read and accept the customer data terms
Important:
Do not confuse "Enhanced conversions for web" with "Enhanced conversions for leads" - these are different features. Shopify stores tracking e-commerce purchases need the web version.
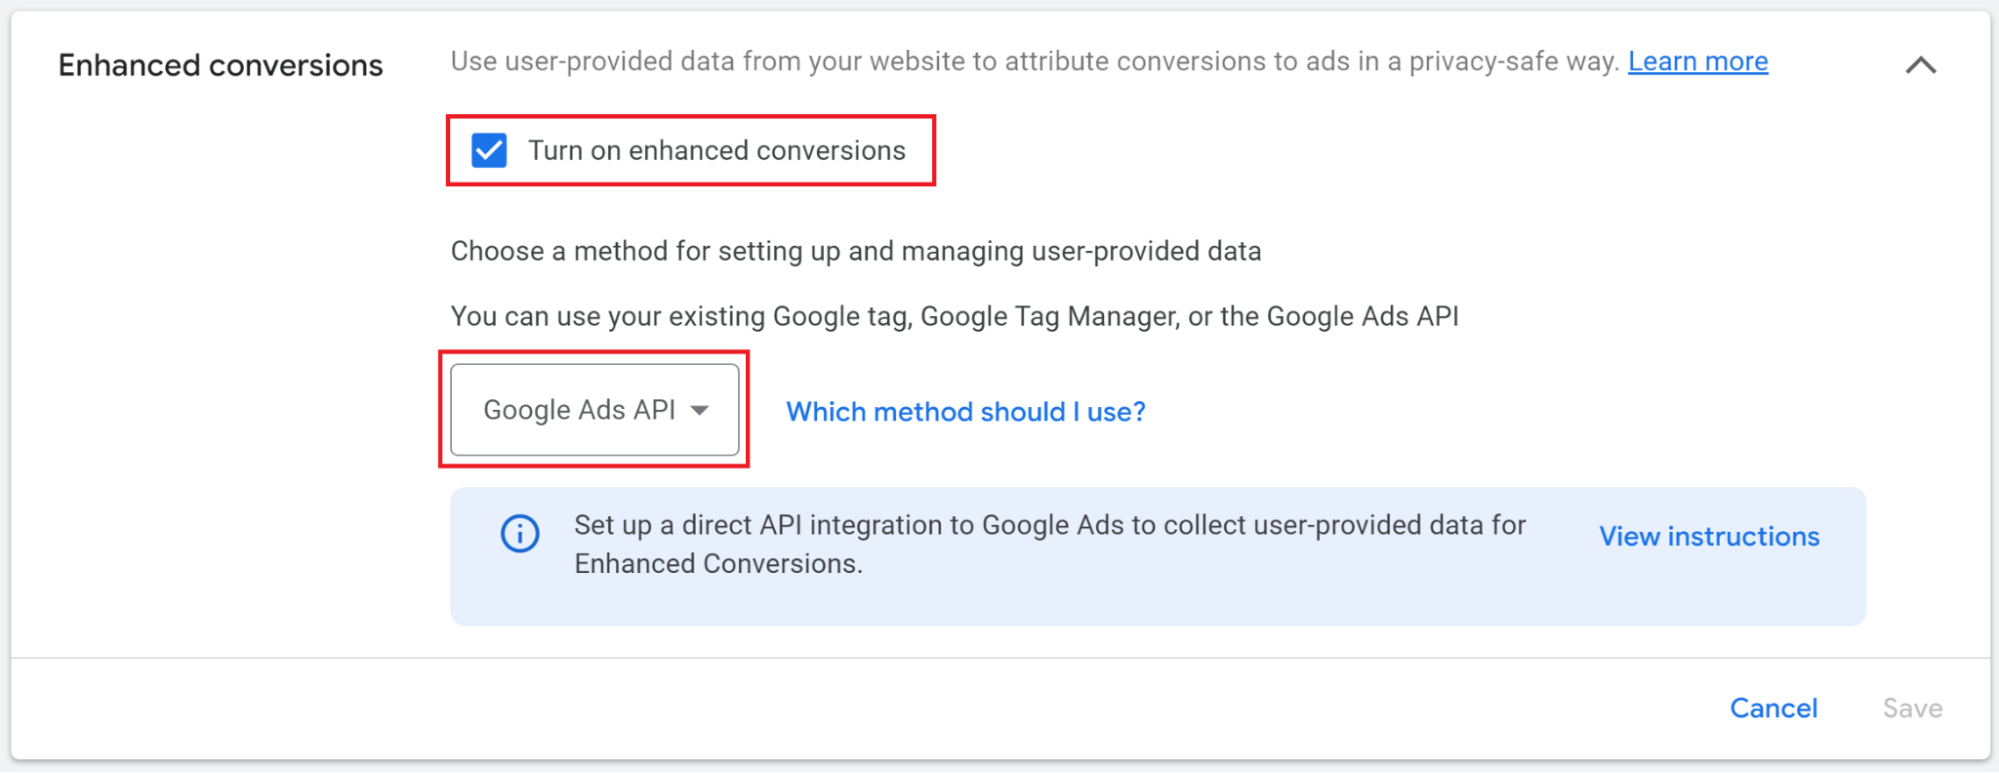
Step 2: Enable Enhanced Conversions in Your Conversion Settings
With the terms accepted, confirm that Enhanced Conversions are set to use the correct implementation method.

In your Google Ads conversion settings, you'll see options for how Enhanced Conversions data will be sent:
-
Google Tag (gtag.js)
-
Google Tag Manager
-
Google Ads API (Conversions API)
If you're implementing Enhanced Conversions through TrackBee's server-side integration, select Google Ads API. This tells Google to expect enhanced conversion data via the Conversions API rather than via browser tags.
If you're implementing client-side only (via GTM or gtag.js), select the appropriate option.
Save your changes after selecting the implementation method.
Step 3: Configure Your Conversion Action for Purchases
Your purchase conversion action needs to be configured correctly to work with Enhanced Conversions.
Navigate to your Purchase conversion action in Google Ads (Goals > Conversions). Verify:
-
Conversion source: Website
-
Conversion value: Set to use transaction-specific values (not a fixed value), so each conversion reports the actual order value
-
Count: One (not Every - for purchase conversions you typically want to count once per transaction)
-
Conversion window: 30 days is standard for e-commerce
-
Enhanced conversions: Should now show as enabled after Step 1
If you're using TrackBee, the conversion action will often appear labeled as ORDER (TrackBee) - this is the server-side conversion action created during the TrackBee connection flow. Enhanced Conversions settings apply here in the same way.
Do not delete or pause your original client-side conversion action
when adding server-side tracking. Deduplication handles overlapping events - running both ensures maximum coverage.
Step 4: Connect Shopify - Client-Side Pixel Setup
The client-side component captures conversion events from users whose browsers successfully run tracking scripts. For many stores, this covers the majority of purchasers.
If using Google Tag Manager:
Your GTM purchase conversion tag needs a user data variable that passes hashed customer data alongside the conversion event. The variable pulls from your data layer - Shopify's checkout page needs to push email, first name, last name, and phone number to the data layer on the order confirmation page.
Shopify's standard data layer doesn't include this by default, which is why custom implementation is required.
If using Shopify's Customer Events (Custom Pixels):
Shopify's Customer Events feature allows you to add custom tracking code that runs on checkout pages - including the order confirmation page - within Shopify's sandbox environment.
To set up a Google Enhanced Conversions pixel via Customer Events:
-
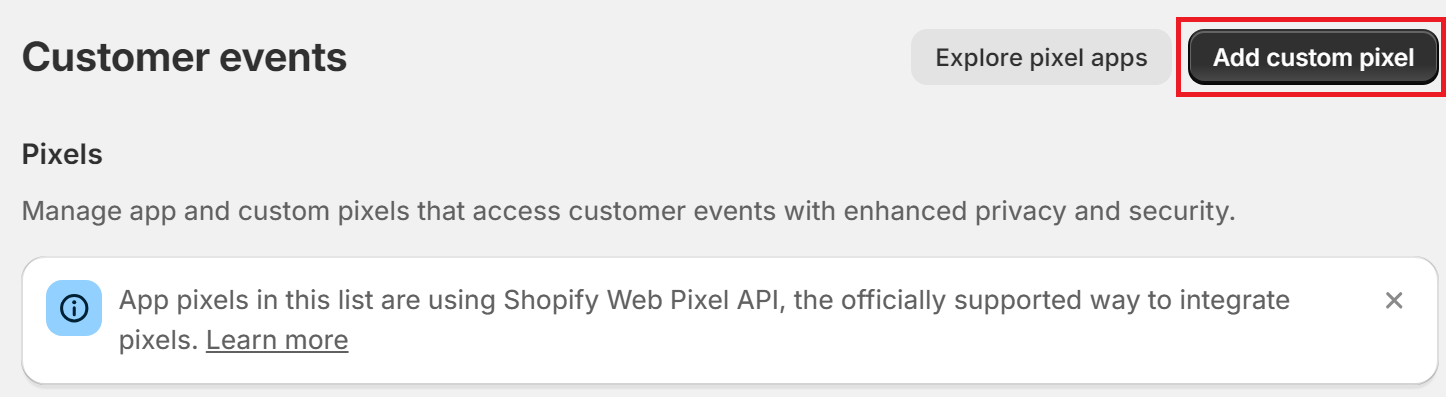
In Shopify Admin, go to Settings > Customer events
-
Click Add custom pixel
-
Name the pixel (e.g., "Google Enhanced Conversions")
-
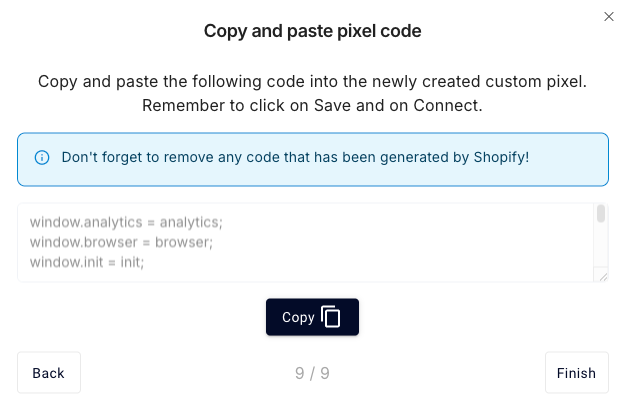
Paste your Enhanced Conversions tracking code
-
Click Save, then Connect
The pixel code needs to capture checkout.email, checkout.customer.firstName, checkout.customer.lastName, and order.id from Shopify's event payload, hash these values, and send them to Google with the conversion event.
If you're using TrackBee, this customer events pixel is included in the TrackBee setup flow - you receive a pre-built pixel to paste, configured for your conversion action IDs.
Step 5: Add Server-Side Coverage with TrackBee
Client-side Enhanced Conversions miss a meaningful percentage of conversions - specifically those blocked by ad blockers, iOS restrictions, or script conflicts. Server-side implementation captures these.
TrackBee's setup connects your Shopify store directly to the Google Ads Conversions API:
1. Create your TrackBee account Sign up at trackbee.io and complete your organization settings.
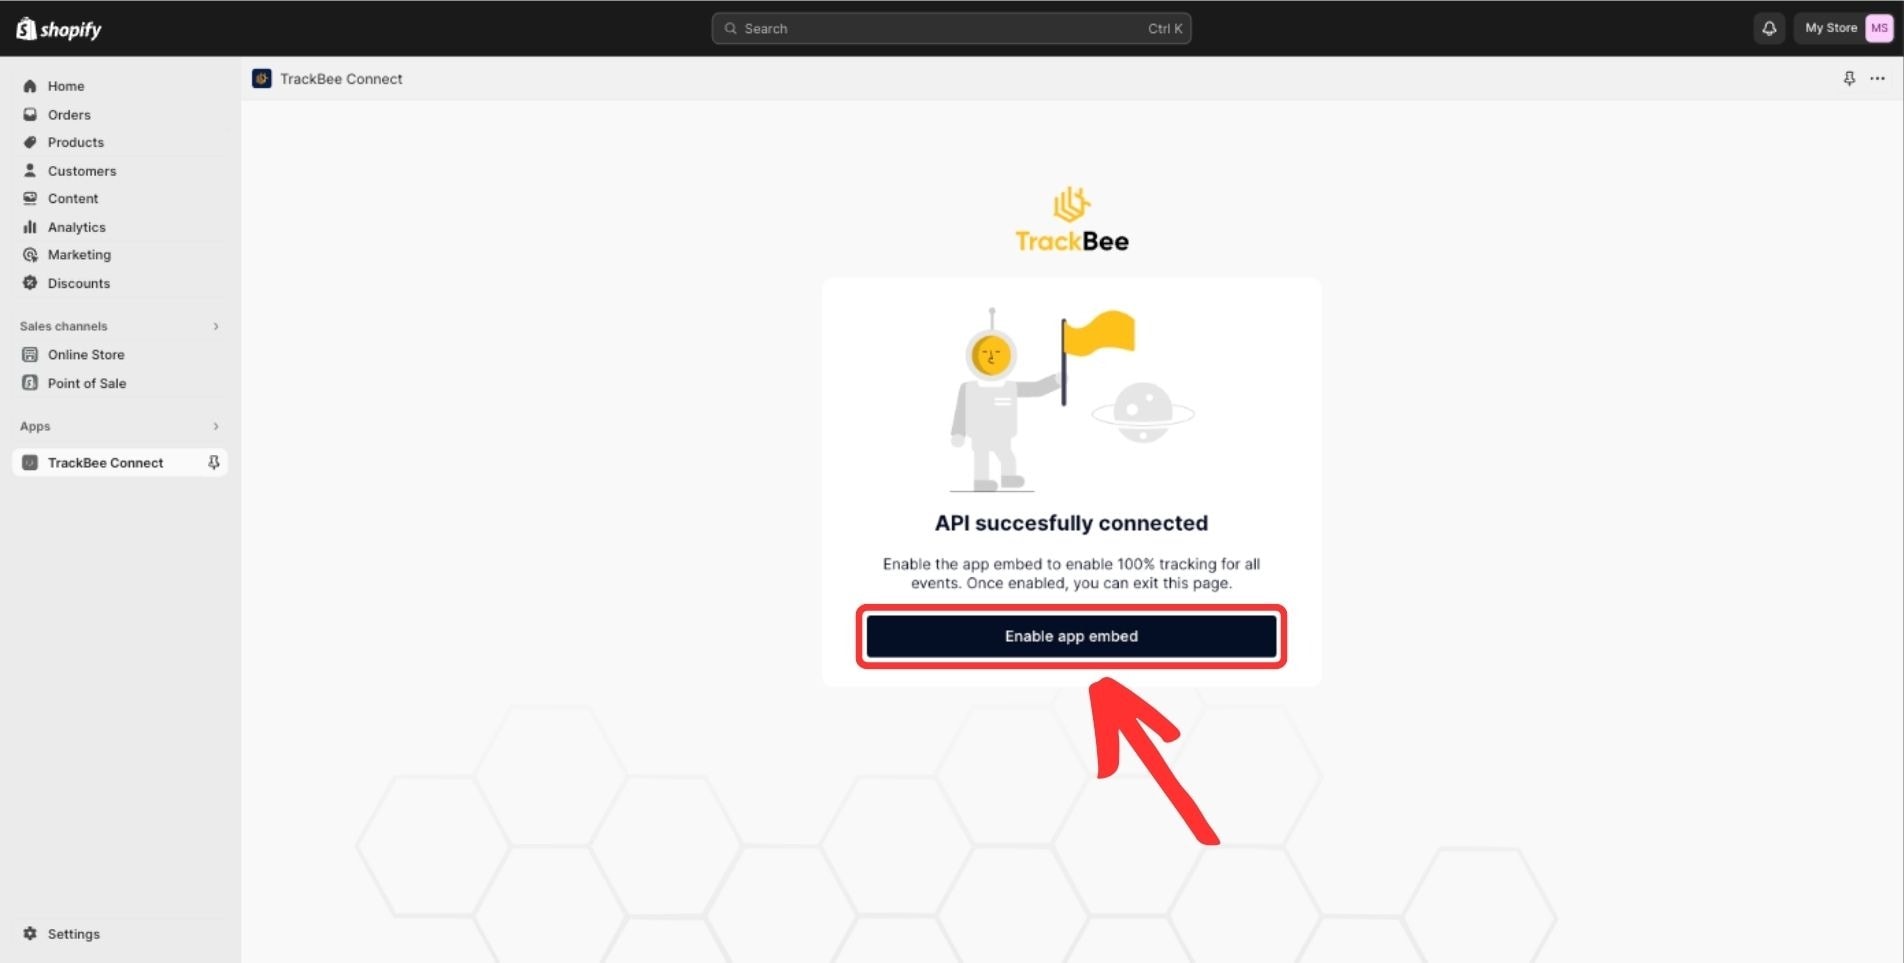
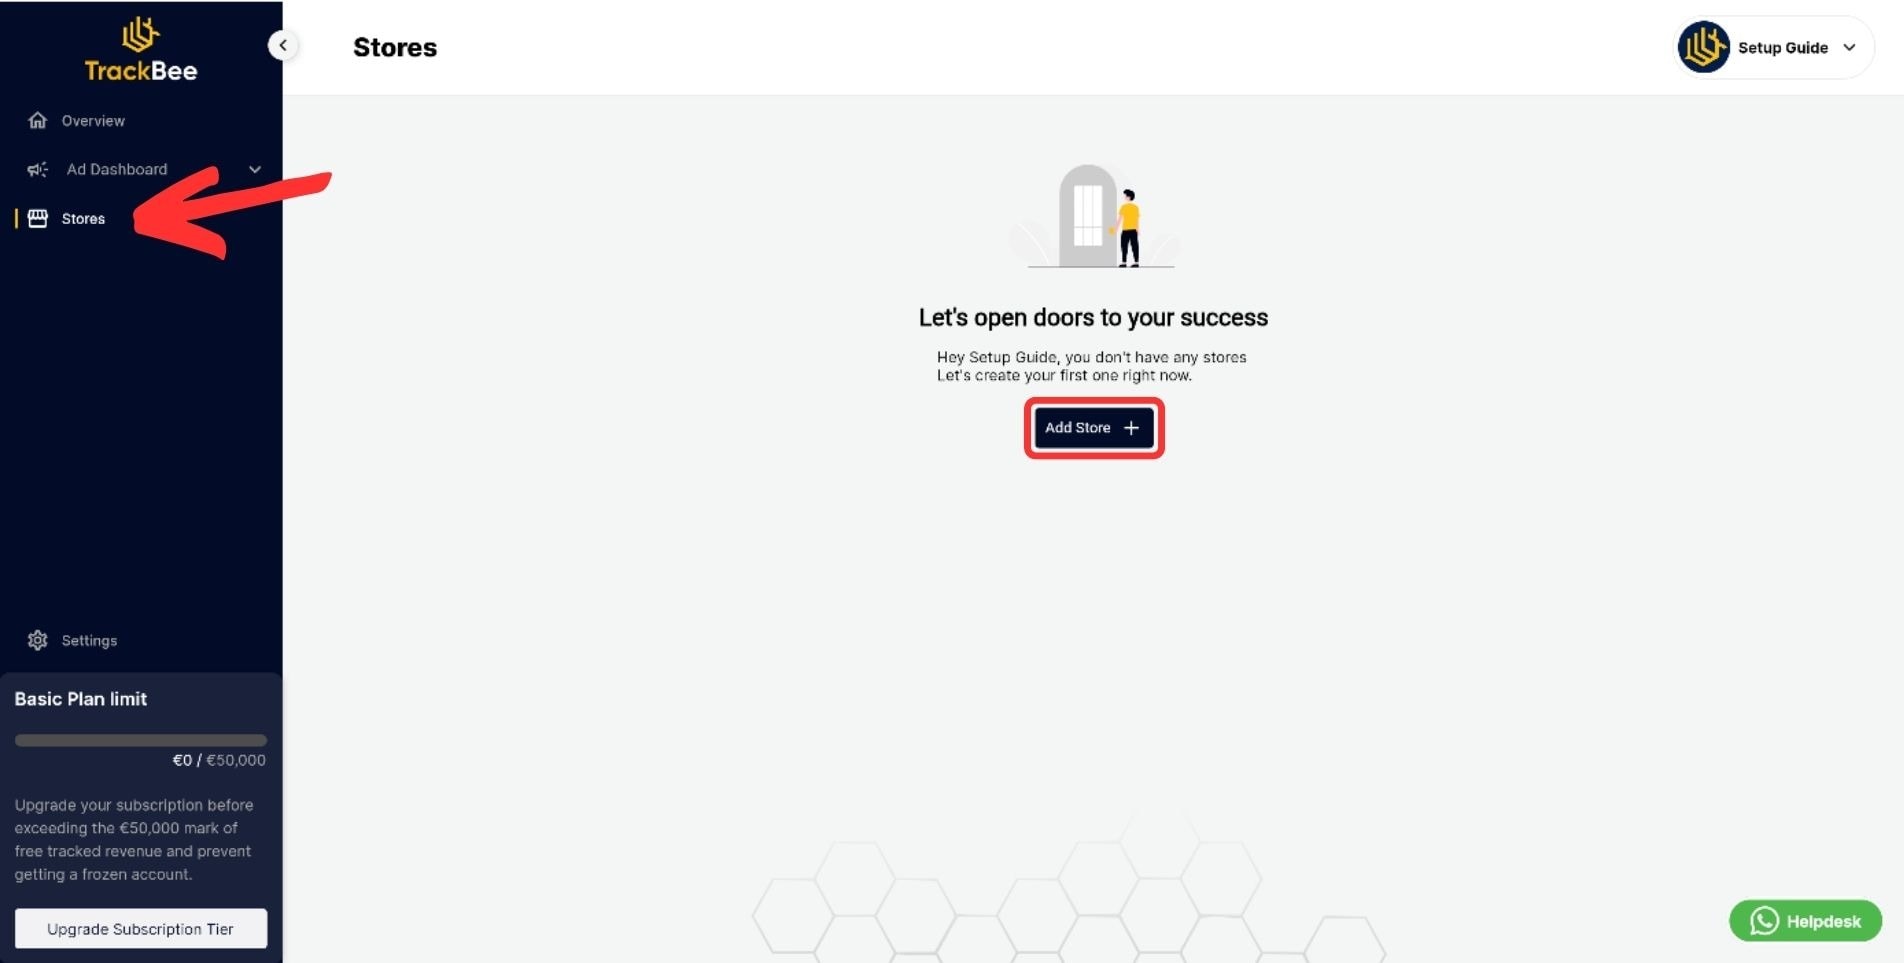
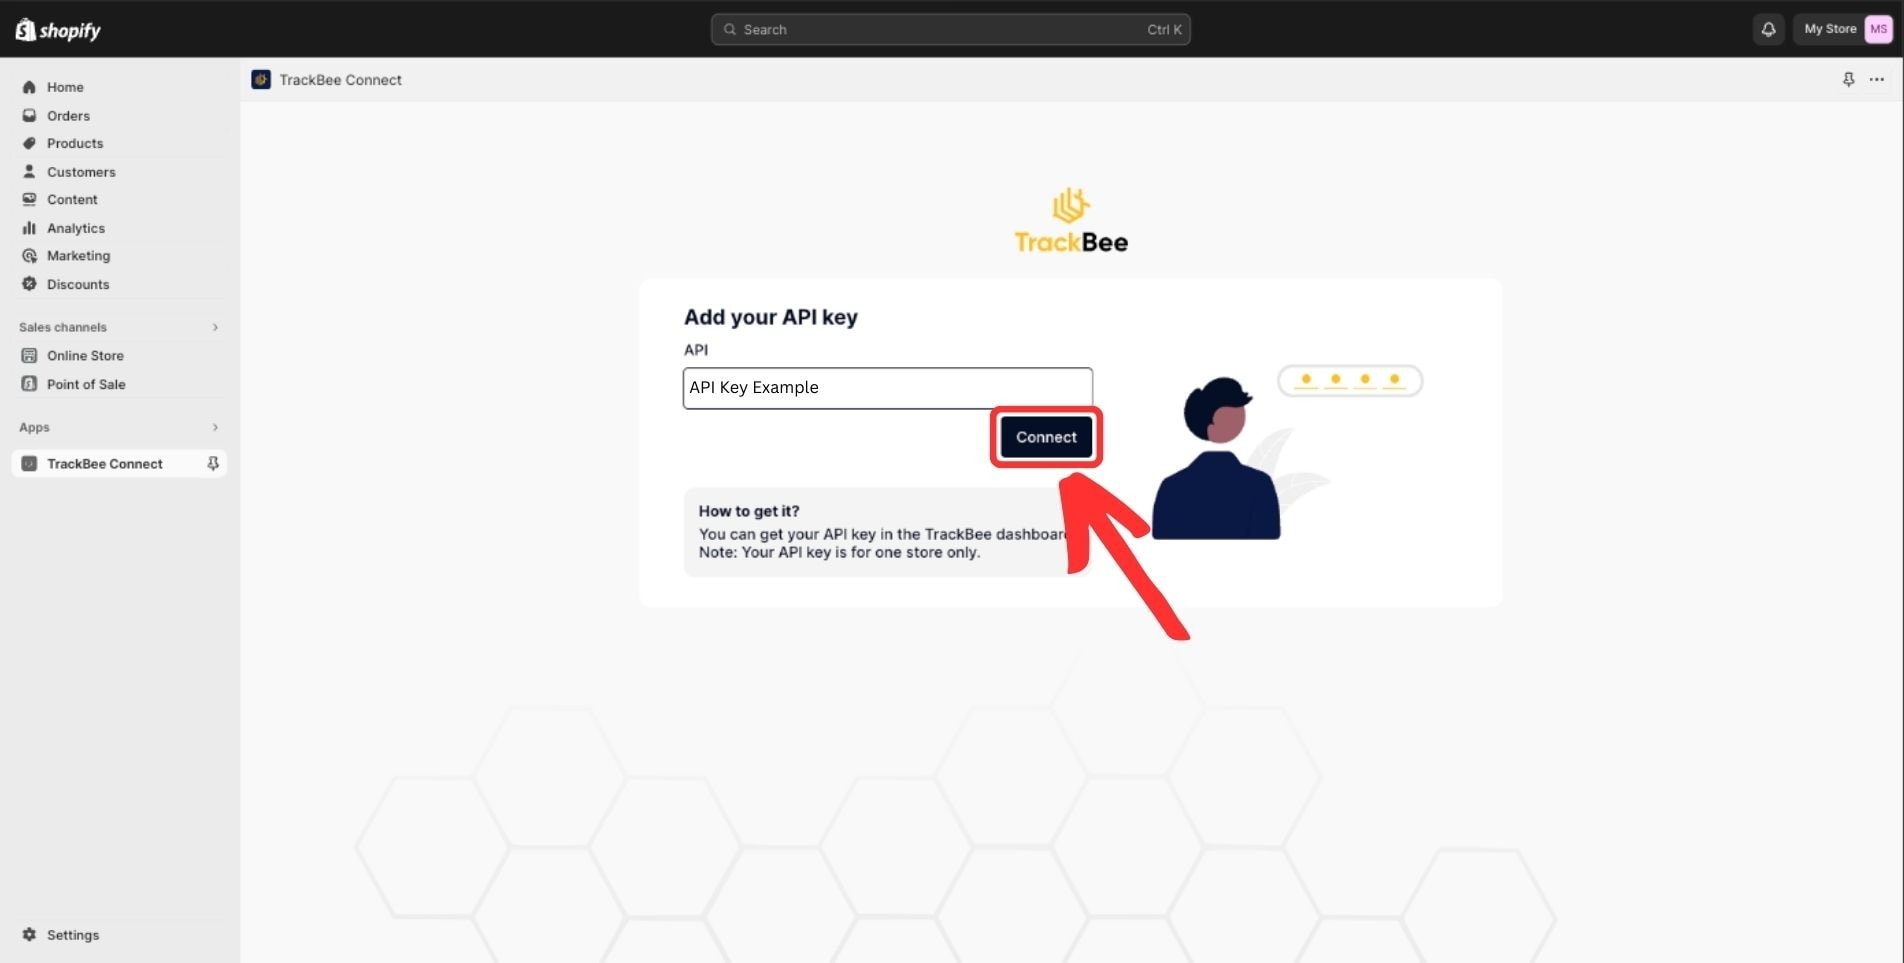
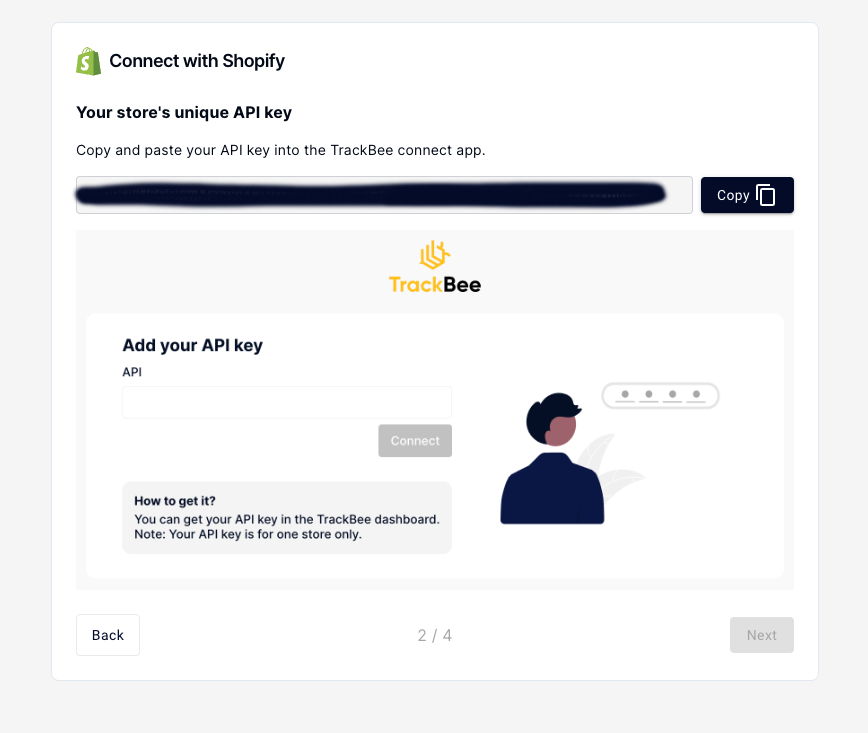
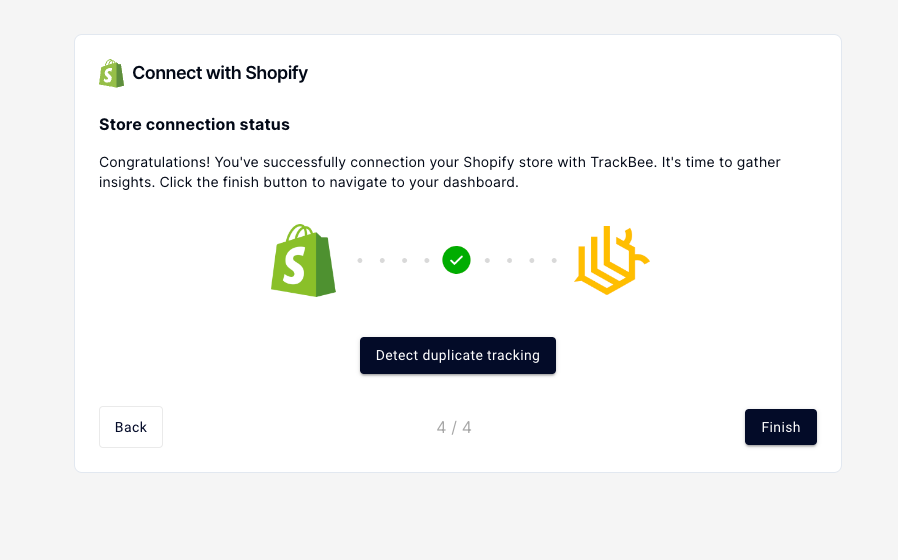
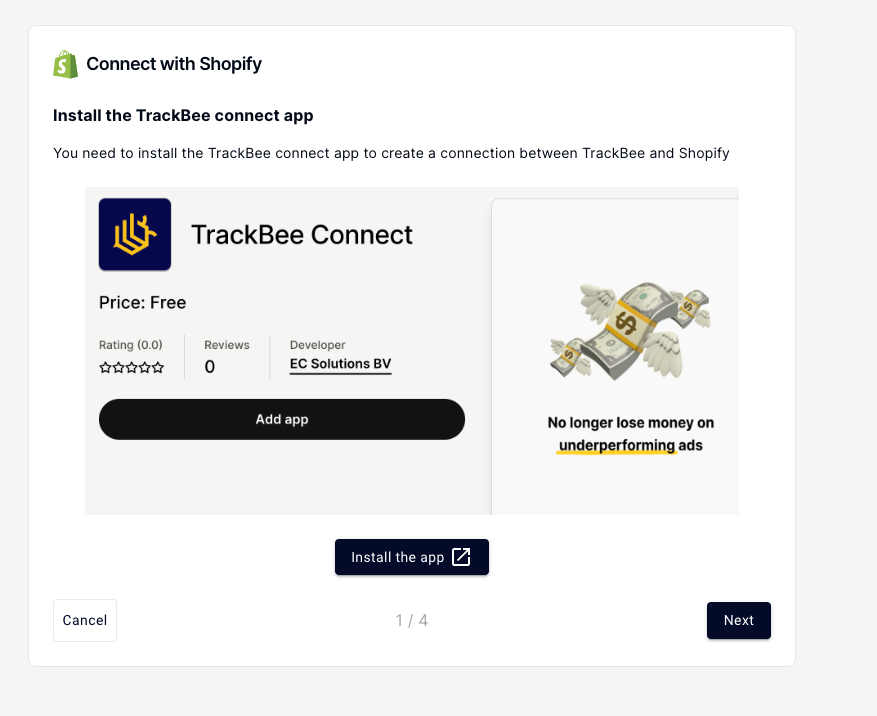
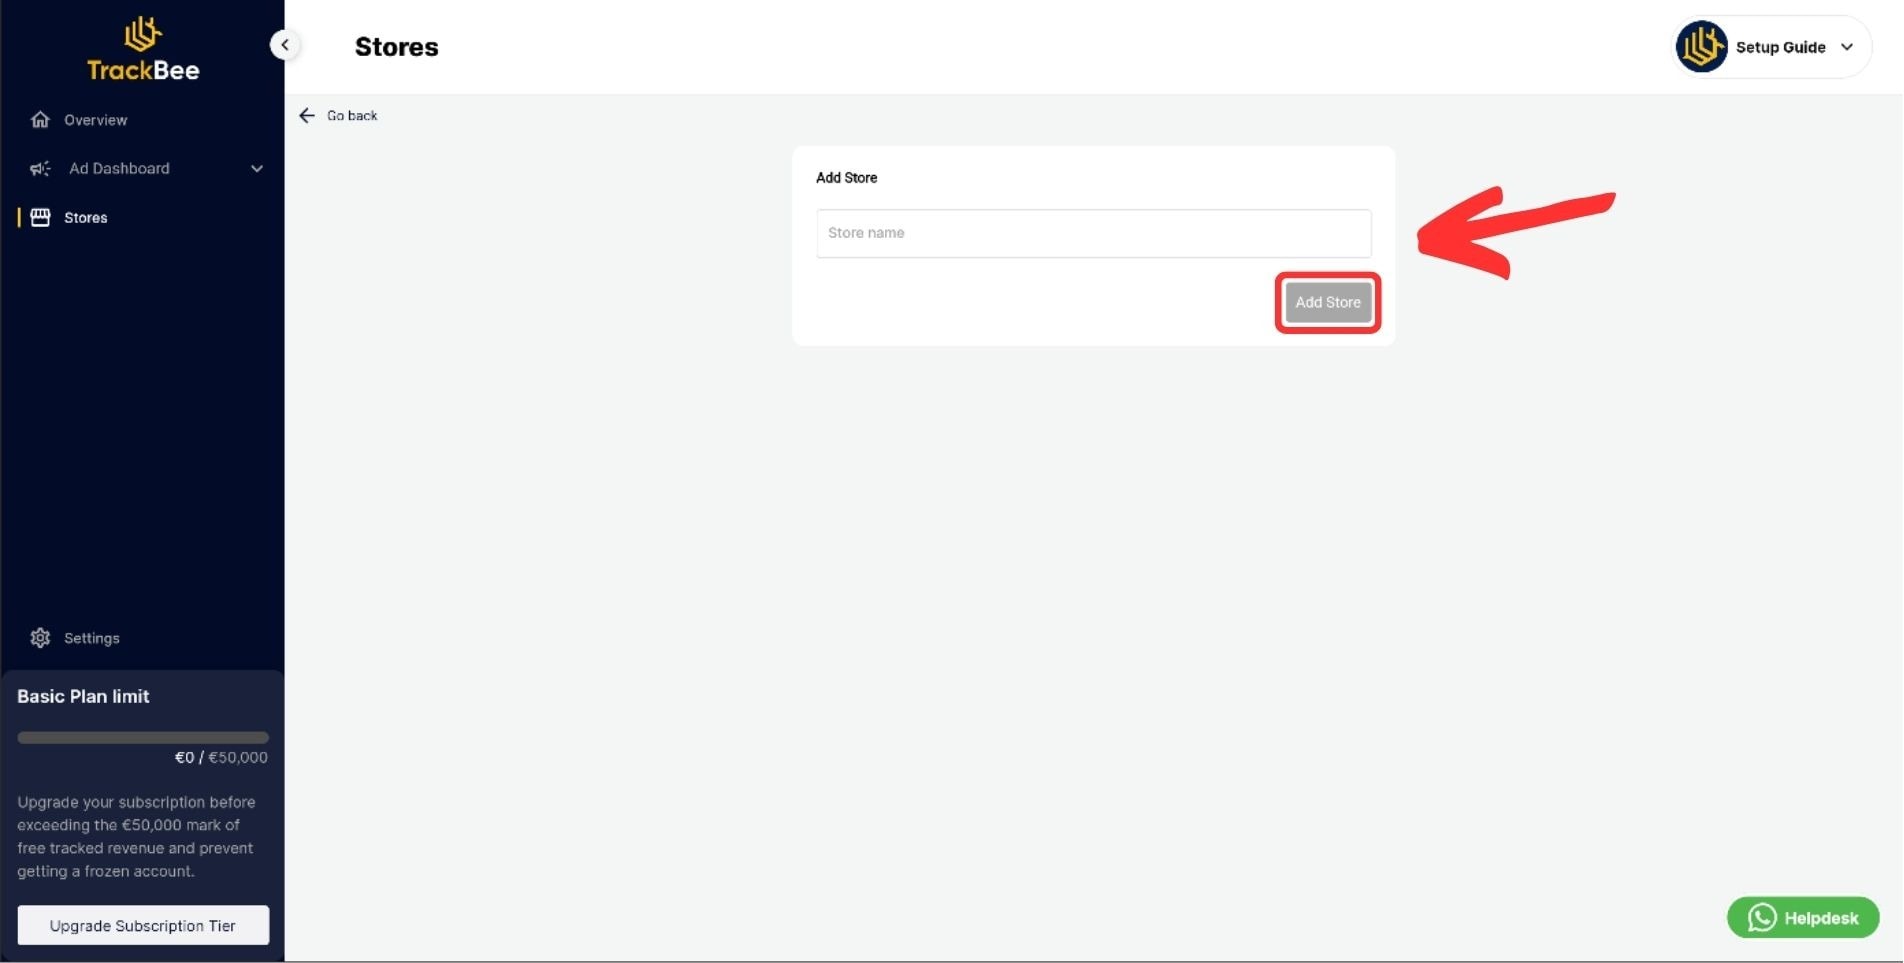
2. Connect your Shopify store In the TrackBee dashboard, add your store. The installation wizard handles the technical integration - install the TrackBee app from the Shopify App Store and complete the connection flow.
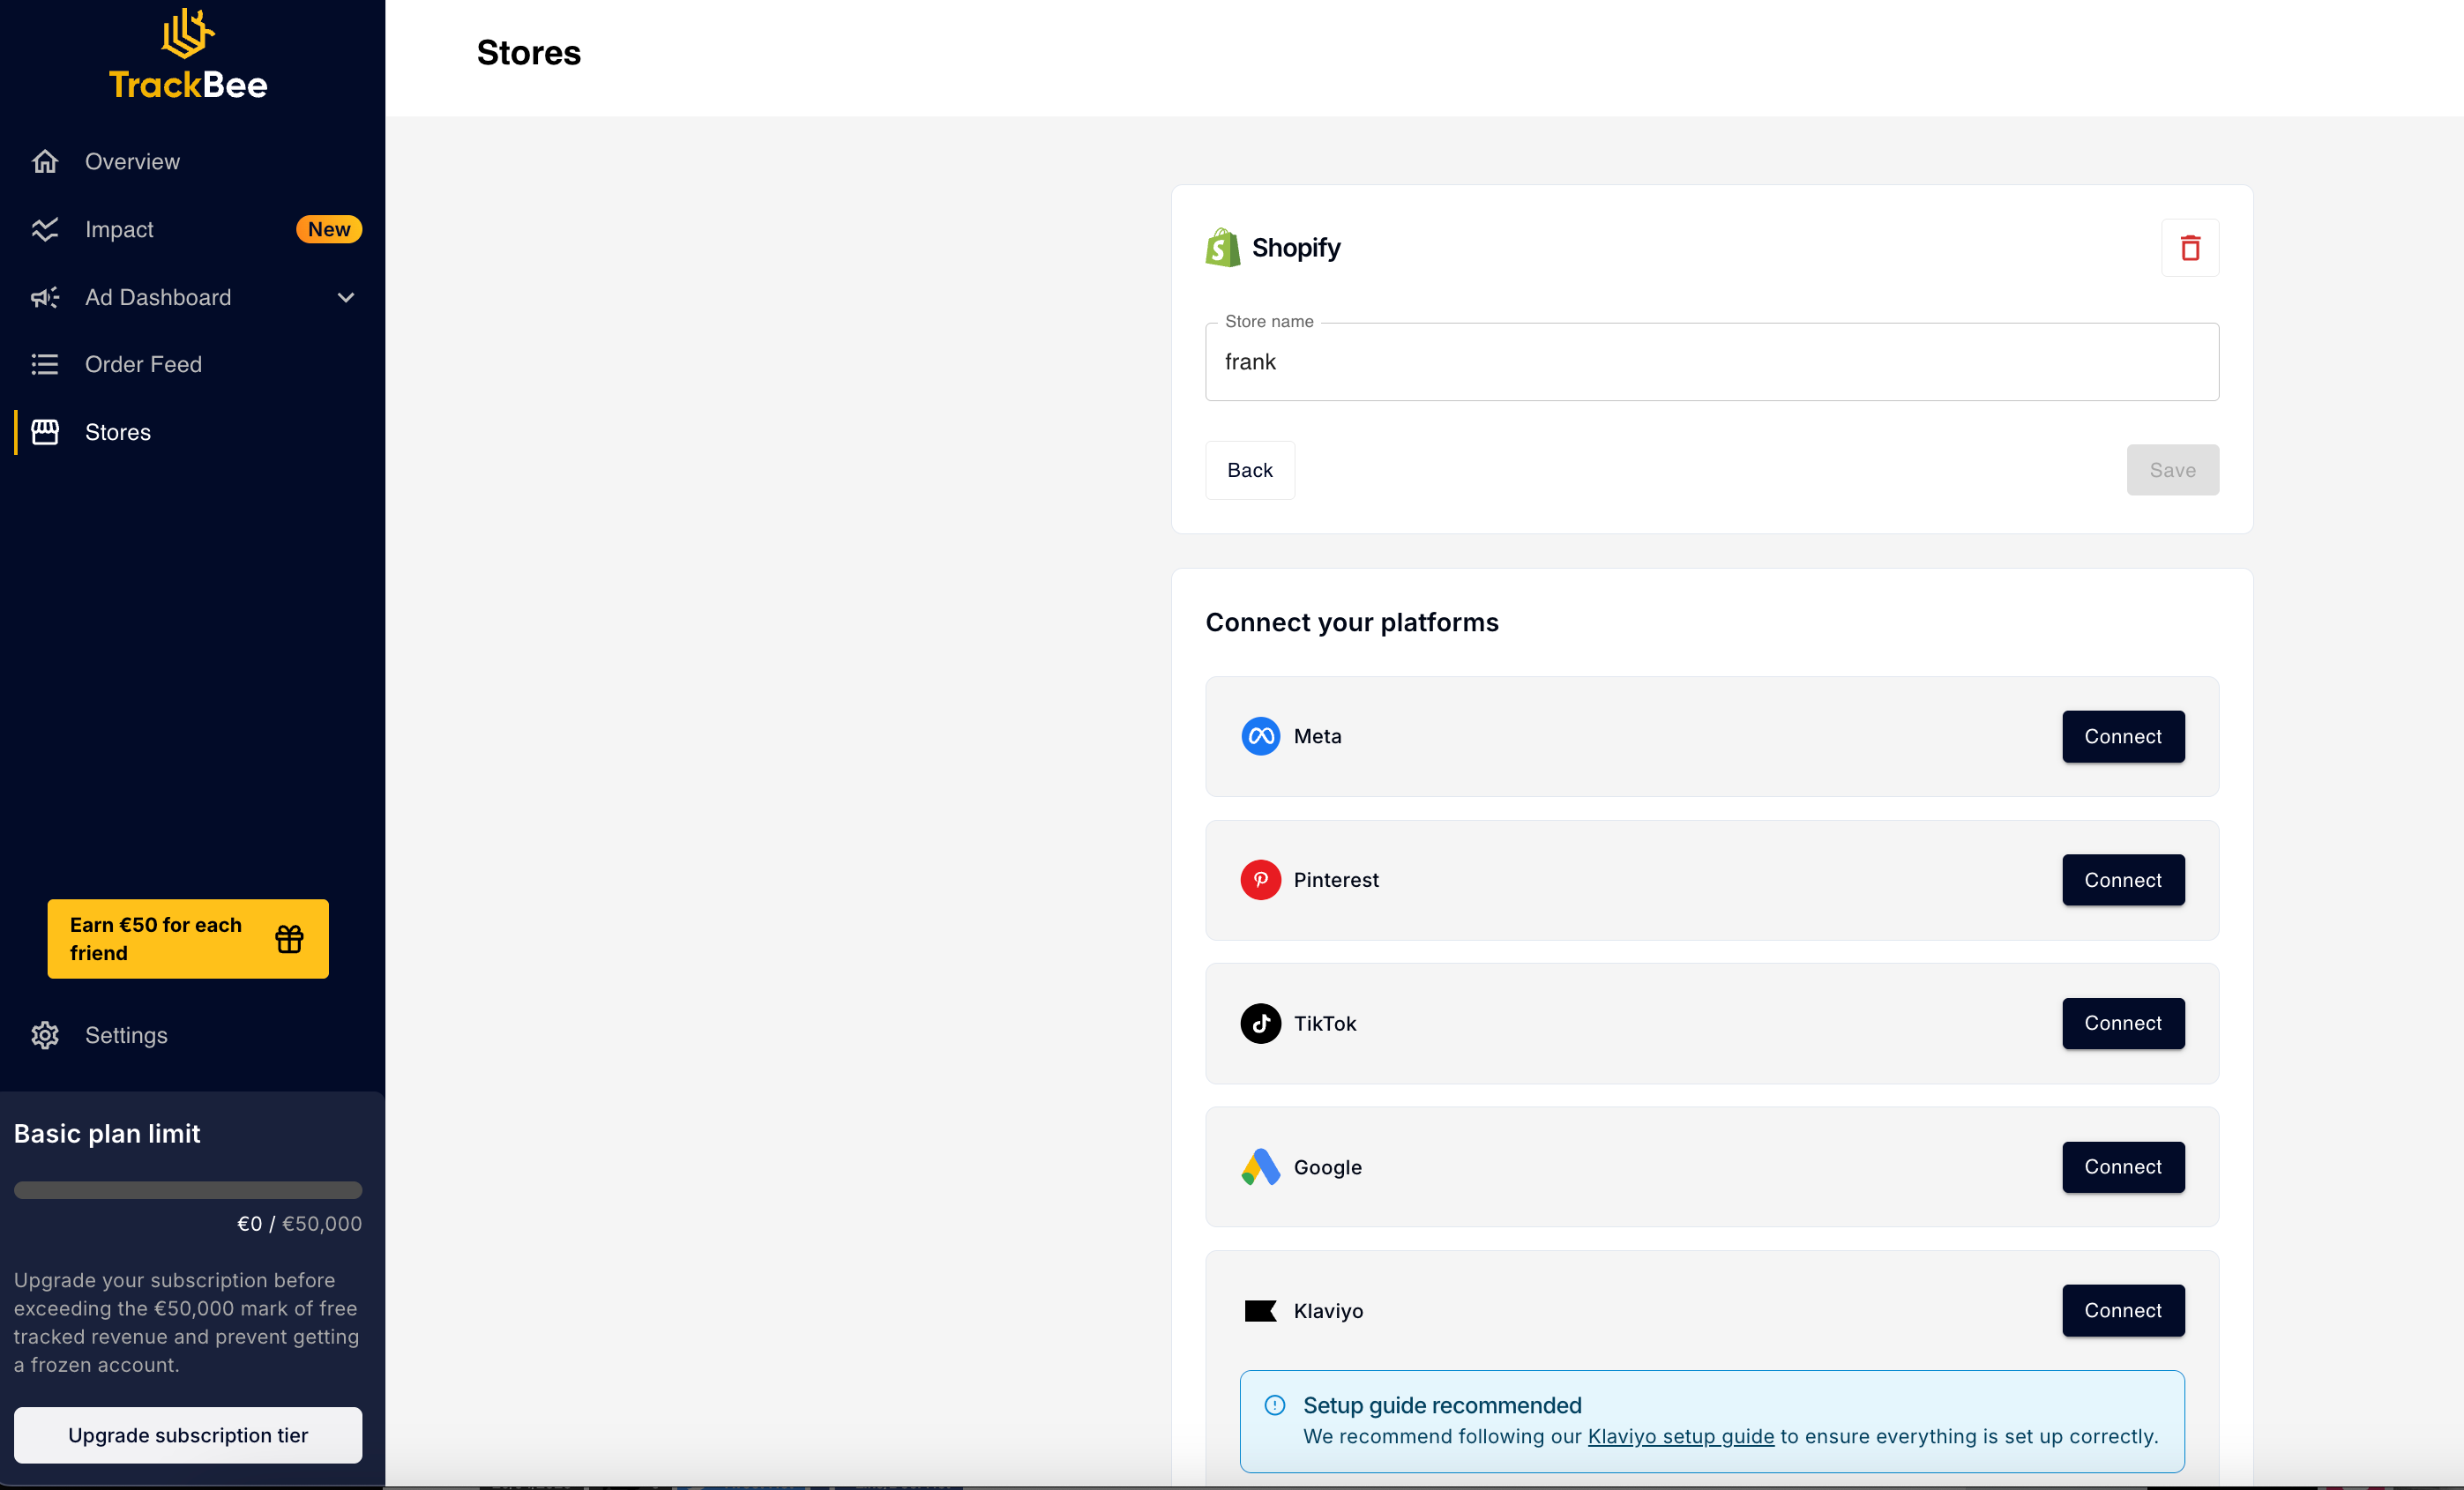
3. Connect Google Ads In TrackBee, navigate to the Google Ads integration and connect your Google Ads account. Authenticate and select the ad account.
4. Enable the Conversion Booster Enable the Conversion Booster in your TrackBee settings. This activates the server-side Enhanced Conversions flow, which sends enriched conversion data directly from TrackBee's servers to the Google Ads Conversions API.
5. Enable Enhanced Conversions in Google Ads (API mode) In your Google Ads account, confirm that Enhanced Conversions for web is set to Google Ads API mode (covered in Step 2). This is what allows TrackBee's server-side data to be processed correctly.
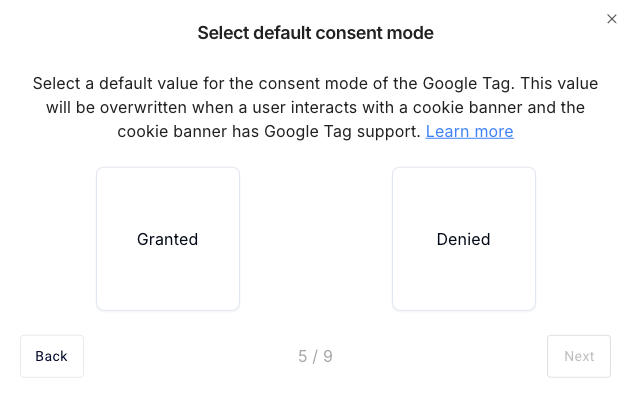
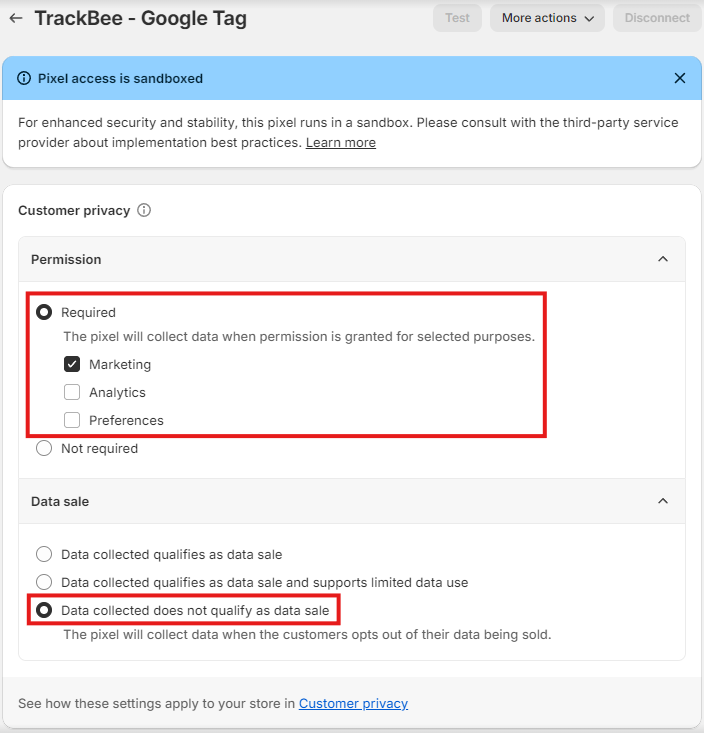
6. Configure Consent Mode V2 In your TrackBee settings, configure the default consent mode value for the Google Tag. Since July 2025, Google Consent Mode V2 is mandatory for all advertisers serving users in the EEA - without it, Google cannot model conversions from non-consenting users. TrackBee supports Consent Mode V2 out of the box. The default value will be overridden by your cookie banner's settings once a user makes a consent choice.
Once both client-side and server-side tracking are running, TrackBee's deduplication system ensures Google receives each purchase event exactly once - regardless of whether it was captured on the client, the server, or both.
Step 6: Verify and Test
After completing setup, verify that Enhanced Conversions are working correctly.

In Google Ads:
-
Go to Goals > Conversions
-
Click on your purchase conversion action
-
Check the Diagnostics tab - this shows whether Enhanced Conversions data is being received and whether it's matching
-
Look for the Enhanced conversions column in your conversion reports
Enhanced Conversions data typically appears in reports within 24–48 hours. The match rate (percentage of conversions where a user match was found) is visible in conversion diagnostics.
In TrackBee:
-
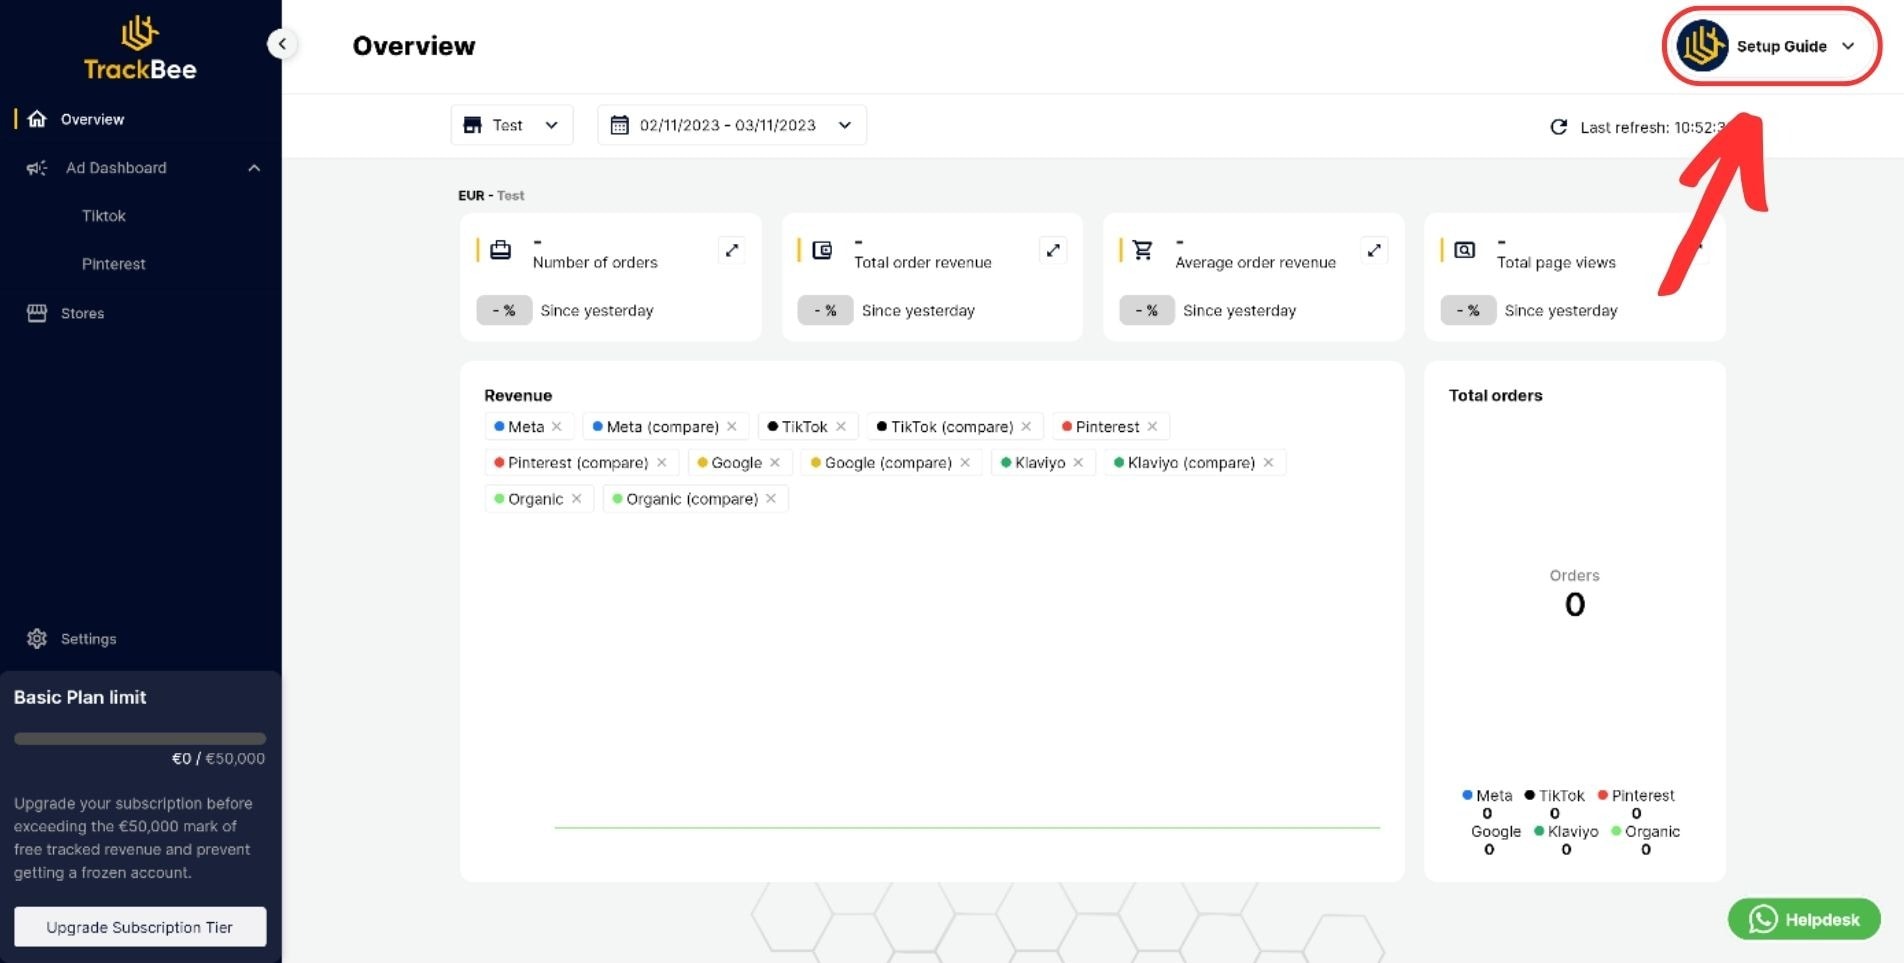
Your TrackBee dashboard shows event volume for all platforms
-
Google Ads purchase events should match your Shopify order volume (within the expected variance for anonymous/unidentifiable sessions)
Test purchase: Place a test order on your store using an email address associated with a real Google account. Within 24–48 hours, this conversion should appear in your Google Ads conversion data - verifiable in both the standard conversion count and the Enhanced Conversions matched data.
Common Setup Errors and How to Fix Them
Enhanced Conversions not activating: Confirm that you've accepted customer data terms (Step 1) and saved your implementation method selection (Step 2). Both steps are required.
Duplicate conversions:
If you're running both a client-side Google Tag and TrackBee's server-side integration without deduplication, you'll see duplicate purchase events. TrackBee's deduplication uses unique order IDs to deduplicate automatically. If you're not using TrackBee, ensure your server-side integration sends the same transaction_id value as your client-side tag - Google uses this to deduplicate.
Missing Enhanced Conversions data in reports: Check that your customer events pixel (or GTM tag) is successfully passing user data. Use Google's Tag Assistant or the Diagnostics tab in Google Ads to confirm data is being received. Common causes: the pixel isn't firing on the order confirmation page, or the data layer variables aren't being populated.
"Enhanced conversions for leads" enabled instead of "for web": These are different features. Enhanced Conversions for Leads is for offline conversion import workflows. If you see "leads" settings instead of "web" settings, confirm you're on the correct conversion action.
Frequently Asked Questions
Does Enhanced Conversions setup require a developer? For the standard GTM-based implementation, some technical knowledge is needed to configure data layer variables. TrackBee's implementation is designed to require no developer - the setup guide provides a pre-built customer events pixel that can be copied and pasted, and the server-side integration is configured through a UI.

Will enabling Enhanced Conversions change my historical conversion data? No. Enhanced Conversions apply to new conversion events going forward. Historical data isn't retroactively enhanced.
Do I need to update my Privacy Policy? Yes. If you're collecting and hashing customer data for Enhanced Conversions, your Privacy Policy should disclose this. Standard e-commerce privacy policies typically cover this under data usage disclosures, but it's worth confirming with your legal advisor for your specific jurisdiction.
Can I use Enhanced Conversions with Google Analytics 4? Enhanced Conversions is a Google Ads feature, not a GA4 feature. It improves Google Ads attribution. However, running Enhanced Conversions alongside a server-side GA4 implementation (via Measurement Protocol) provides comprehensive measurement across both platforms. TrackBee supports both simultaneously.
What if my store has multiple domains or subdomains? If your checkout runs on a different domain (e.g., a subdomain or third-party checkout), you may need additional configuration to ensure the gclid is passed correctly across domains. TrackBee handles cross-domain gclid preservation as part of its session enrichment.
Set Up Once, Run Forever
Google Enhanced Conversions are a one-time configuration that continues recovering attribution data indefinitely. Once correctly configured - with both client-side and server-side coverage - your Google Ads campaigns run on more complete conversion data, which directly improves Smart Bidding accuracy, audience modeling, and ROAS.

TrackBee handles the server-side Enhanced Conversions implementation for Shopify: Conversions API integration, session enrichment, gclid preservation, and automatic deduplication - all without developer involvement.


.png)